
How to Build Your Menu in 5 Minutes
We know that manually entering each product in the menu is tedious. You have dozens of dishes, each with a name, description, price, weight, allergens — and you have to enter them one by one. That's exactly why we added two new import methods to Menivo: menu photography import and import from an Excel file (XLSX).
You photograph the menu, Menivo does the rest
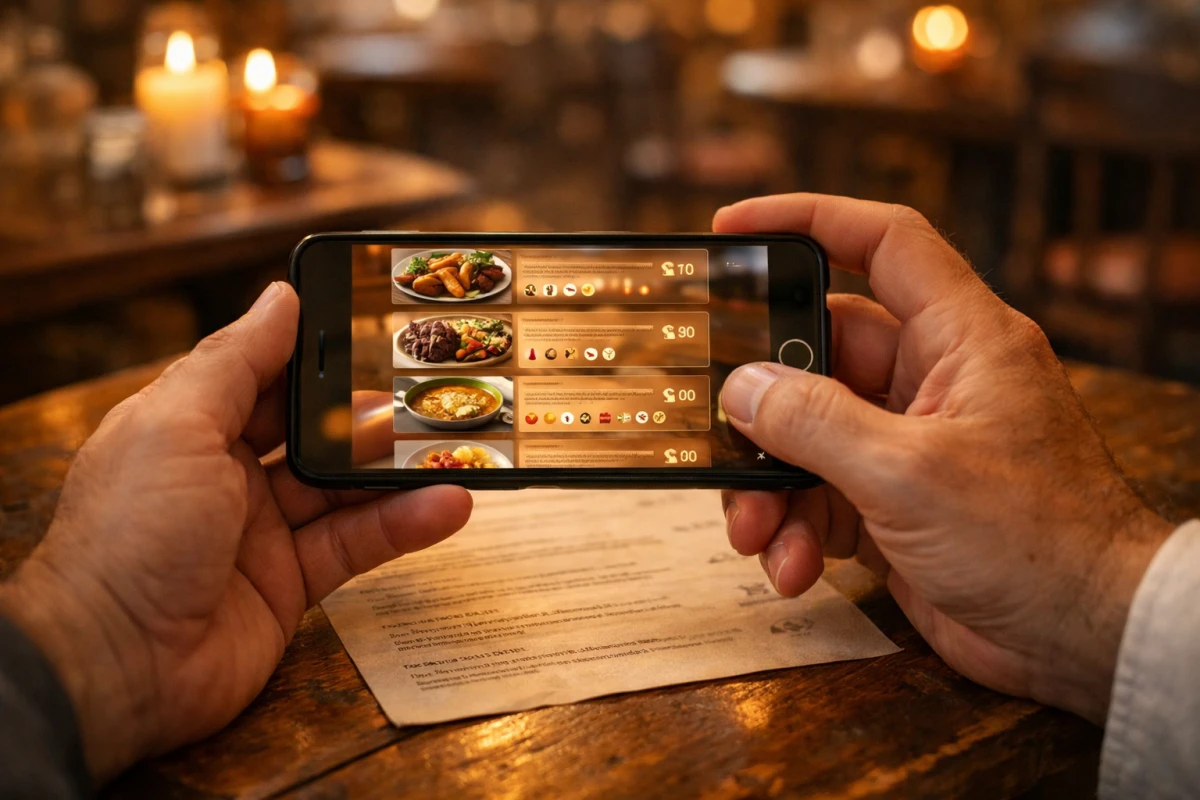
If you already have a printed menu or a list of dishes saved as a photo on your phone, you can now upload it directly to Menivo. The platform analyzes the image with the help of artificial intelligence and automatically extracts the categories and products from it.
How it works in practice: you upload a photo (JPG, PNG or WebP, up to 10 MB), and the system identifies the dishes, groups them by categories and completes, where it can, the weight, detected allergens and nutritional values. Before the data is saved, you can review and correct it — the import never happens "blindly", you have full control over what enters your menu.
The function is available for subscribers with a plan that includes image import (has_ai_image_import). If you're not sure what plan you have, check in your account settings.
Do you have an Excel with the menu? Upload it directly
The second method is aimed at restaurants that already have the menu organized in a file — whether they received it from a supplier or built it in-house over time. Menivo accepts .xlsx and .xls files with a simple structure, on two sheets:
Sheet 1 — Categories (Worksheet 1): each row represents a menu category, with columns ref_id, name_ro, description_ro, name_en, description_en and group_ro. The last column is optional: write a group name there (for example Food or Drinks) and the category is placed in that group automatically, the group being created the first time it appears. You can have at most three groups; leave the column empty if you do not use them.
Sheet 2 — Products (Worksheet 2): each row is a product, linked to its category through category_ref_id. The available columns are name_ro, description_ro, name_en, description_en, price, weight, alergeni, nutritional_values, composition_json, published and image.
You don't have to build the file from scratch — Menivo provides a ready-to-fill Excel template, with examples for each column and a third sheet that contains the complete list of accepted allergens (with ID, name in Romanian and in English), so you know exactly what to fill in the allergens column.
What happens after import
Regardless of the method chosen, the system respects the limits of your subscription plan: if you have a limit on categories or products per category, the import stops at that limit and notifies you with a clear message of what was imported and what was ignored. You won't find surprises in your account.
The allergens entered — whether through free text (e.g. "Gluten, Milk") or through numeric ID — are automatically mapped to our database and appear immediately in the product sheet, in accordance with EU Regulation 1169/2011.
Translation into English? Just like in the rest of the platform, if your subscription includes the AI translation feature, imported categories and products automatically receive the English version, ready for international customers.
How to access the import functions
You'll find them in your Menivo dashboard, in the restaurant menu management section. From there you can choose between image import and Excel import, you can download the template and you can track what was imported successfully.
If you already have a menu built and want to move it to Menivo as quickly as possible, these two functions are the shortest route. Try — and if you have any questions, our team is a message away.
Menivo — digital QR menu for restaurants, bars and cafes. Simple for you, modern for your customers.