
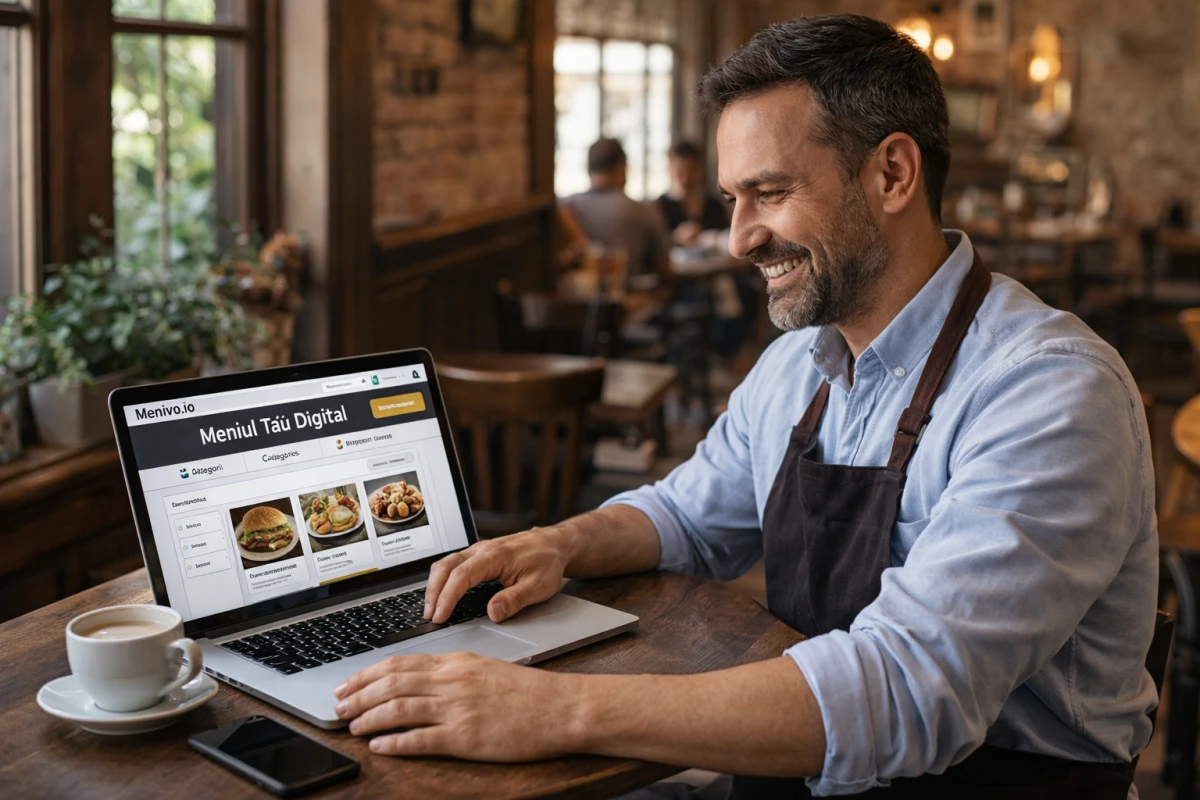
Create a Digital Menu for Your Restaurant in 10 Minutes
If you have a restaurant, bar or cafe and you're still using printed menus, it's time to make the switch to digital. A digital menu is no longer just a "nice to have", but an essential tool for efficiency, sales and customer experience.
In this guide I show you exactly how to create a restaurant digital menu in just 10 minutes using Menivo.io, step by step, without technical knowledge.
Why choose a digital menu?
Before the steps, let's quickly understand why it's worth it:
eliminate printing costs (menus changed constantly)
change prices or products instantly
reduce staff errors
customers order faster
you can add images that increase sales
you have a modern, premium look
👉 Practically: your menu becomes a marketing tool, not just a list of products.
STEP 1: Create an account on Menivo
The first thing is to create an account on the platform.
What you do concretely:
Access the Menivo platform
Press "Sign up"
Enter email + password
Confirm your account
Expert tip:
Use a business email (e.g. contact@your-restaurant.ro), not a personal one. You will have notifications, reservations and orders related to this account.
Important:
After logging in, you will arrive at a simple dashboard, where the setup begins.
STEP 2: Configure your restaurant location
Here you define the identity of your location.
What needs to be filled in:
Restaurant name
Address
Phone number
Opening hours
Logo
Expert tip:
👉 The logo is extremely important. A menu without branding looks cheap.
👉 If you don't have a good logo:
use a simple version
avoid pixelated images
keep transparent background
Extra:
Add a short description of the restaurant – it helps with branding and SEO if the menu is indexable.
STEP 3: Create menu categories
Now we build the menu structure.
Examples of categories:
Appetizers
Soups
Main course
Dessert
Drinks
How you do it:
Press "Add category"
Enter the name
Optional: icon or image
Expert tip:
👉 Don't overdo it with categories. Ideal:
max 6–8 categories
clear and logical structure
👉 Order matters:
put the most profitable products first
STEP 4: Add products + images
This is the most important step in the process of creating a restaurant digital menu.
What you fill in for each product:
Name
Description
Price
Image
Optional: allergens
Expert tip (VERY IMPORTANT):
👉 Products with images sell 30–60% better.
How images should be:
bright
clean background
no watermark
square format (ideal)
👉 If you don't have photos:
use temporary quality images
but DO NOT leave without images
Product description:
Don't just write "Margherita Pizza".
Write:
Margherita Pizza – crispy crust, fresh tomato sauce, mozzarella and basil
👉 That increases conversion.
STEP 5: Set prices correctly
It seems simple, but this is where most mistakes occur.
What you need to do:
check every price
choose the correct currency
make sure there are no products without a price
Expert tip:
👉 Avoid:
prices like 23.00 → use 23
inconsistency (some with decimals, others without)
👉 Strategy:
use psychological prices: 24, 29, 39
Bonus:
If Menivo allows:
you can set variants (small / large)
or extra options
STEP 6: Generate QR code
This is where it gets magic.
How you do it:
Press "Generate QR"
The system creates the code
Download the image
Where to use the QR code:
on tables
on flyers
on display
on receipts
Expert tip:
👉 Don't use a small or unclear QR code.
👉 Ideal:
large size
strong contrast (black on white)
tested on phone
👉 Add text:
"Scan for menu"
STEP 7: Publish the menu
The last step is publishing.
What you do:
press "Publish"
check the generated link
test on mobile
Quick checklist:
✔ loads fast
✔ images are visible
✔ prices are correct
✔ structure is clear
Expert tip:
👉 Test the menu as a customer:
access it from your phone
see how long it takes to find a product
if it takes over 10 seconds → simplify
STEP 8: Optimize experience (extra for performance)
If you want real results, don't stop at publishing.
What you can do:
add better descriptions
optimize images
remove unnecessary products
highlight bestsellers
Expert tip:
👉 Create a category:
"Recommended"
"Most ordered"
👉 That increases order value.
PRO tips for increasing sales
From experience, these make the difference:
1. Images sell
Products without images are ignored.
2. Order matters
The first 5 products are the most seen.
3. Simplicity wins
Simple menu = higher conversion.
4. Mobile first
90% of users are on phone.
FAQ – Frequently asked questions
1. How long does it take to create a digital menu?
If you have products and images ready, it takes under 10 minutes. If not, it can take 30–60 minutes for full setup.
2. Can I modify the menu after publishing?
Yes. You can change:
prices
products
images
👉 Changes appear instantly, no reprint.
3. Do customers need an app?
No. Customers just scan the QR code and access the menu directly in their browser.
Conclusion
The process of creating a restaurant digital menu is no longer complicated or expensive. With a platform like Menivo, you can have a modern, fast and optimized menu in minutes.
👉 If you want to do things right:
invest in good images
keep the structure simple
think like a customer, not like an owner
A well-made digital menu is not just a technological upgrade — it's a direct tool for increasing sales.